
L LIKED matte sticker labels
Full-sheet printable labels for custom face shapes. Check the exact sheet size and inkjet or laser compatibility before buying.
6 min read
Turn a favorite portrait into a personalized cupcake topper for a birthday, graduation or party. You can make a small batch with scissors, or use a cutting machine for matching sets. The face cutout is free; paper, printing and sticks are separate supplies.
Affiliate Disclosure: This guide includes Amazon affiliate links. As an Amazon Associate, we earn from qualifying purchases at no extra cost to you.
Original photo

FaceConfetti cutout

Open FaceConfetti and choose a sharp, front-facing photo. Wear a party cone hat or tiara in the original photo if you want it in the topper — FaceConfetti does not add one automatically. Processing happens in your browser, without an account or uploading the photo to a server.
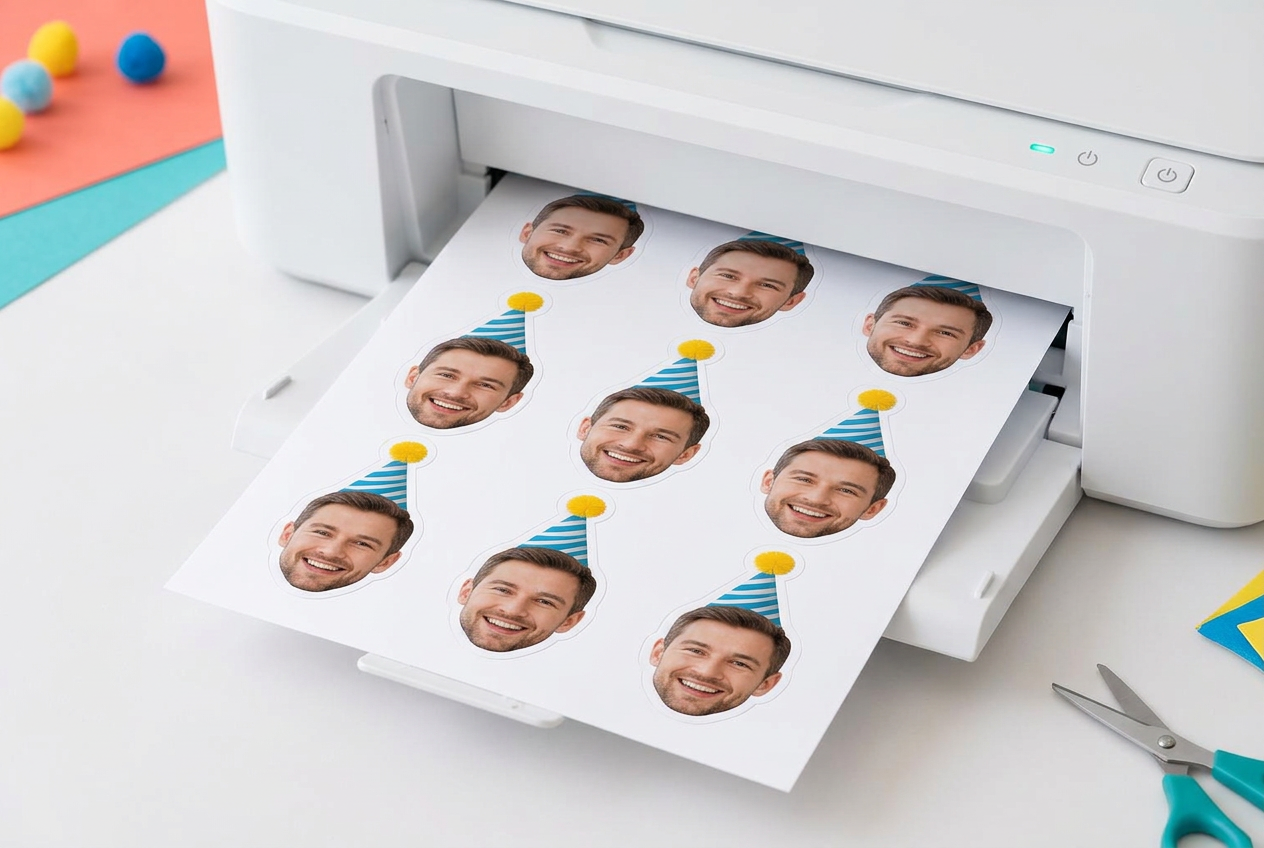
Place several copies of your PNG in a document or design app. About 1.5–2 inches wide is a starting point for a standard cupcake; test the size next to your actual cupcakes. Leave space between faces for cutting and print a plain-paper test before using a label sheet.
L LIKED matte printable sticker labels are a paper option to consider. Choose full-sheet labels for custom shapes and check the exact listing: the paper must explicitly support your inkjet or laser printer. Inkjet-only paper should not go into a laser printer.
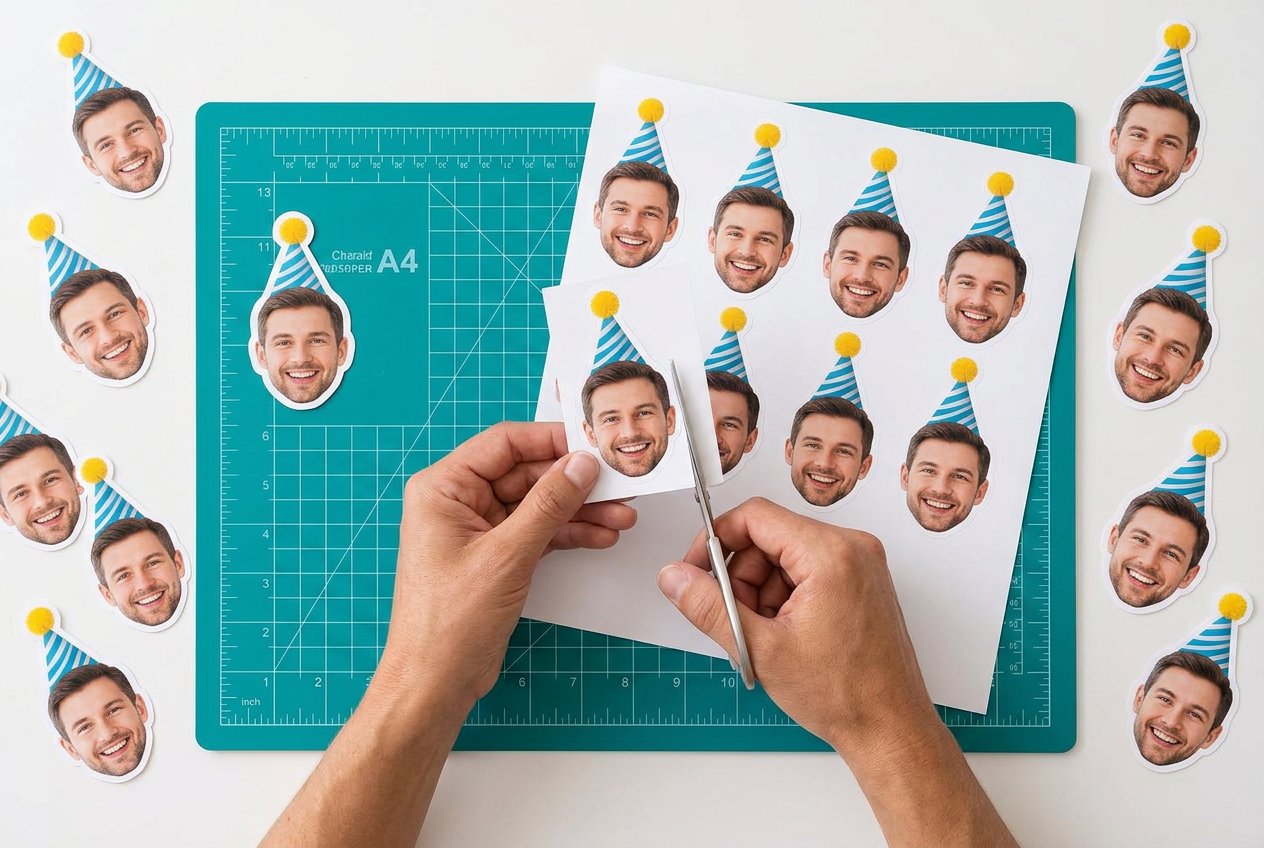
For a few cupcakes, trim around the white border with small scissors. Turn the paper as you cut rather than twisting the scissors. Use a precision craft knife on a cutting mat for tight corners around a tiara; an adult should handle sharp tools.
The Silhouette CAMEO 5α smart cutting machine is an optional choice for larger sets. Its Print & Cut workflow uses your separate printer to print the faces, then reads registration marks to align the cuts — the cutter itself does not print.
For peelable labels, use a kiss cut that leaves the backing intact. For standalone toppers, a full cut can go through the sheet and backing; confirm the settings with a test before cutting the whole batch. Leave cardstock reinforcement until after machine-cutting unless your tested material settings support the extra thickness.
Peel each sticker onto a small cardstock backing if needed. Tape a clean toothpick or food-safe lollipop stick to the back, or sandwich the top of the stick between two backed cutouts for a double-sided topper.
Keep the printed paper, ink and adhesive above the frosting. Only the food-safe stick should touch the cupcake. These are decorations, not edible prints; remove all toppers before serving, and keep sharp toothpicks away from young children.
Arrange the toppers at slightly different heights and your personalized cupcake tray is ready for the party.

Free, private, and done in seconds — right in your browser.
Amazon affiliate recommendations
Full-sheet printable labels for custom face shapes. Check the exact sheet size and inkjet or laser compatibility before buying.
An optional smart cutter for larger batches using Print & Cut. A separate printer is required; test your blade and material settings first.
Affiliate Disclosure: As an Amazon Associate, we earn from qualifying purchases at no extra cost to you.